Create and Manage FTK Cases
Directories
- Navigate to the FRED evidence directory.
Storage(F:)\Evidence -
Create a directory with the CollectionID of the collection you are adding to FTK.
Storage(F:)\Evidence\[CollectionID] - Copy bags and disk images from Staging to the FRED evidence directory.
- Remove bag metadata from the evidence directory bags.
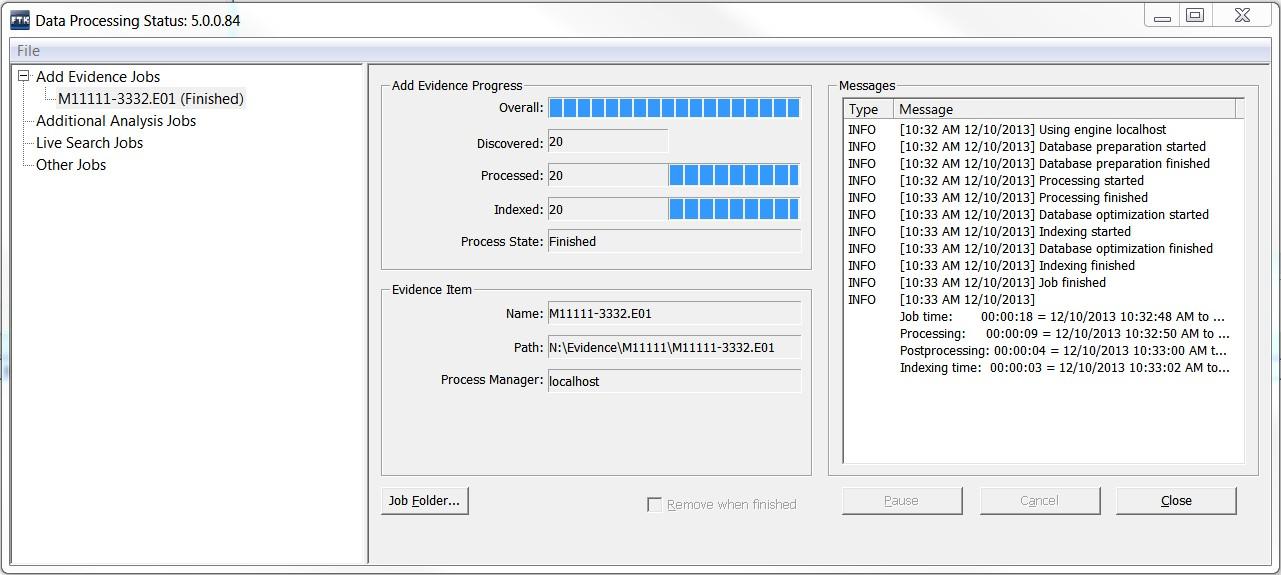
Make sure the FTK license USB is inserted in the FRED before opening FTK.
Launch FTK
- Launch the FTK Application from the desktop.

- Log into the FTK database on FRED 1.
FRED 1 only
Create and Manage Cases
Create New Cases
- Create a new case by selecting new from the Case menu.
- Enter the CollectionID and name of the collection into the ‘Case Name’ field.
- Set the ‘processing Profile’ drop-down to ‘No Del’, then click OK.
CollectionID Collection name
M24017 Builders Association records
Manage Existing Cases
- Double-click the name of the case from the menu.
Add Evidence
- Select ‘Add/Remove…’ from the Evidence menu. Click the ‘Add’ button.
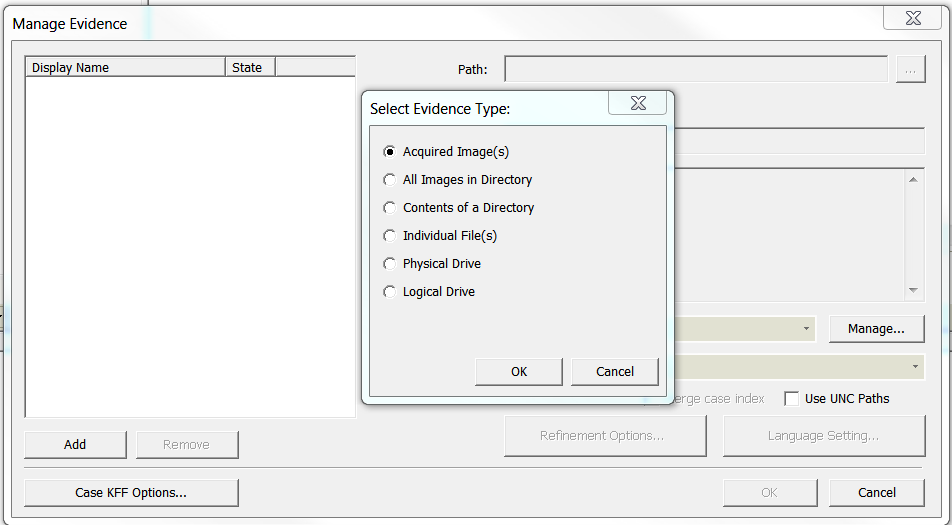
Add Disk Images
- Select ‘Acquired Image(s)’ from the radio buttons in the ‘Select evidence type’ pop-up. Click OK.
Add Files or Directories
-
Select the ‘Contents of a Directory’ radio button in the ‘Select evidence type’ pop-up. Click OK.
- Navigate to the image file(s) or directories you are adding to the case.
Storage(F:)\Evidence\[CollectionID\] - Click ‘open’. You can add multiple images or directories to a case.
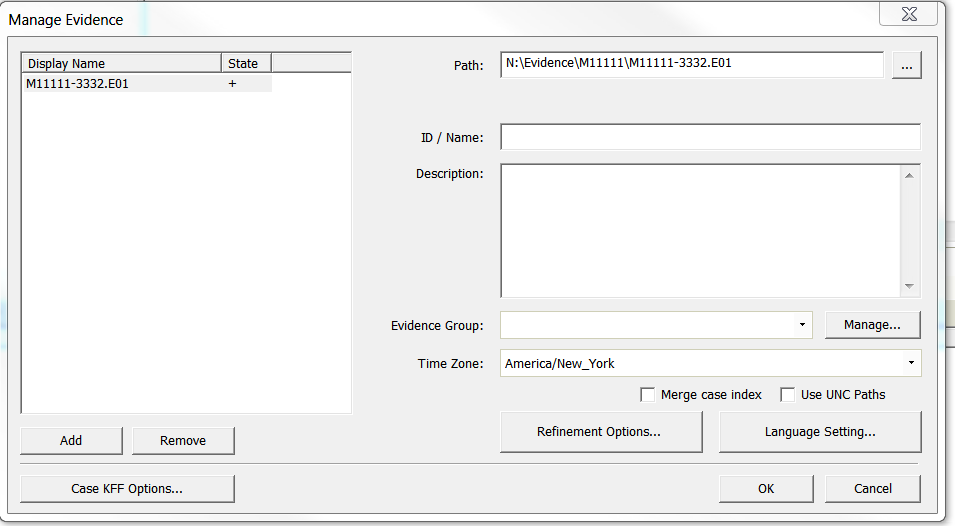
Note: Add only the first file when images are split into multiple files (M11111-4444.E01, M11111- 4444.E02 etc). FTK will automatically load the rest of the files from the evidence folder.
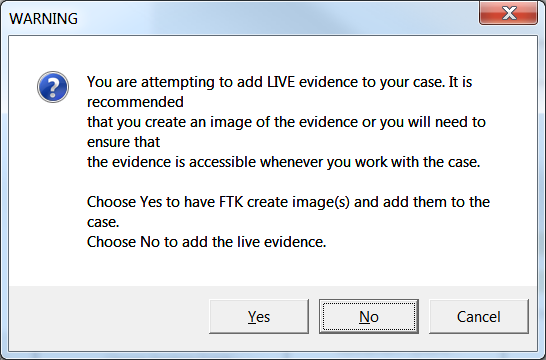
- Click No when adding directories and a pop-up dialog asks whether to create images.
- Adjust the Time Zone (if known) for the image. Click the ‘OK’ button
Remove Problem Media
-
Note disk images marked unrecognizable filesystem in the Evidence tree.
-
Select ‘Add/Remove…’ from the Evidence menu.
-
Select disk images marked unrecognizable filesystem.
-
Click the ‘Remove’ button.
-
Note bags with nothing in the data folder aside from bagit generated txt files.
-
Select ‘Add/Remove…’ from the Evidence menu.
-
Select bags with no data.
-
Click the ‘Remove’ button.
-
Determine whether removed disk images can be displayed in CiderPress or an emulator.
-
Select Problem in the issue field of the CMS medialog for images that can’t be displayed.
-
Select Problem in the issue field of the CMS medialog for bags with no data.
Review PII
-
Check for and label personal identifiable information (PII).
-
Navigate to the Live Search and select the Pattern tab.
-
The search patterns listed below are saved to FTK Live Search.
-
Select Import. Select Storage(F:)\FTKsettings\PII.xml Click Open.
-
Set Max Hits per File to 1. Click Search.
-
Copy and paste the patterns below individually if you don’t have PII.xml available.
-
Click the Add button each time. Click Search.
| Type of PII | Search Patterns |
|---|---|
| Social Security Numbers | \<\d{3}[\-\s]?\d{2}[\-\s]?\d{4}> |
| Credit Card Numbers | \<(\d{3}[\-\s]?){3}\d\d\d\d\> |
| Credit Card Numbers | \<\d{4})[\-\s]?\d{6}[\-\s]?\d{5}> |
- View results in the right hand pane if there are matches.
- Click on the plus sign and select all matches in the File Viewer on the left.
- Label these matches “Potentially Sensitive.”